
Hanging curtains has evolved significantly from the days of traditional curtain tracks. There are now so many pole and curtain styles and designs, making finding the perfect match for your decor easier.
Early curtain poles were crafted from heavy metals like steel or brass. Modern innovations have introduced lightweight, tubular designs that are still durable but far more stylish and simple to fit.
Eyelet curtains are by far the easiest curtains to hang; however, this guide will ensure you get every step right.
Step 1: Choosing the perfect eyelet curtains
At The Mill Shop, our team is passionate about interior design. We want to ensure our customers create spaces in which they’ll feel at home. This means every element of the room showcases their character and compliments the aesthetic they’re trying to create.
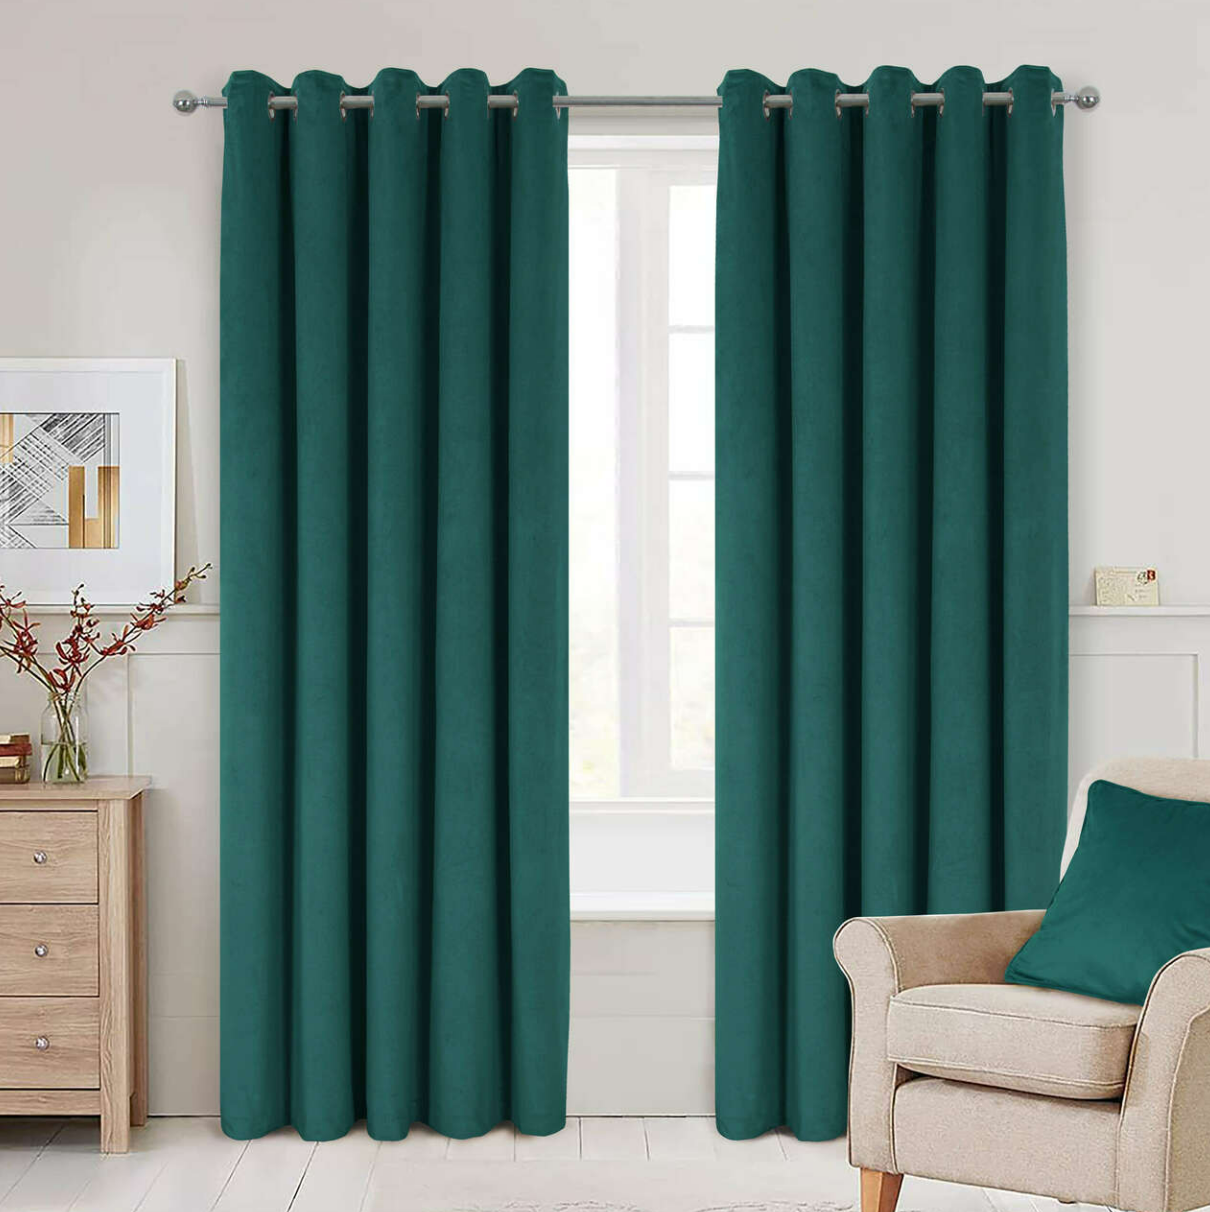
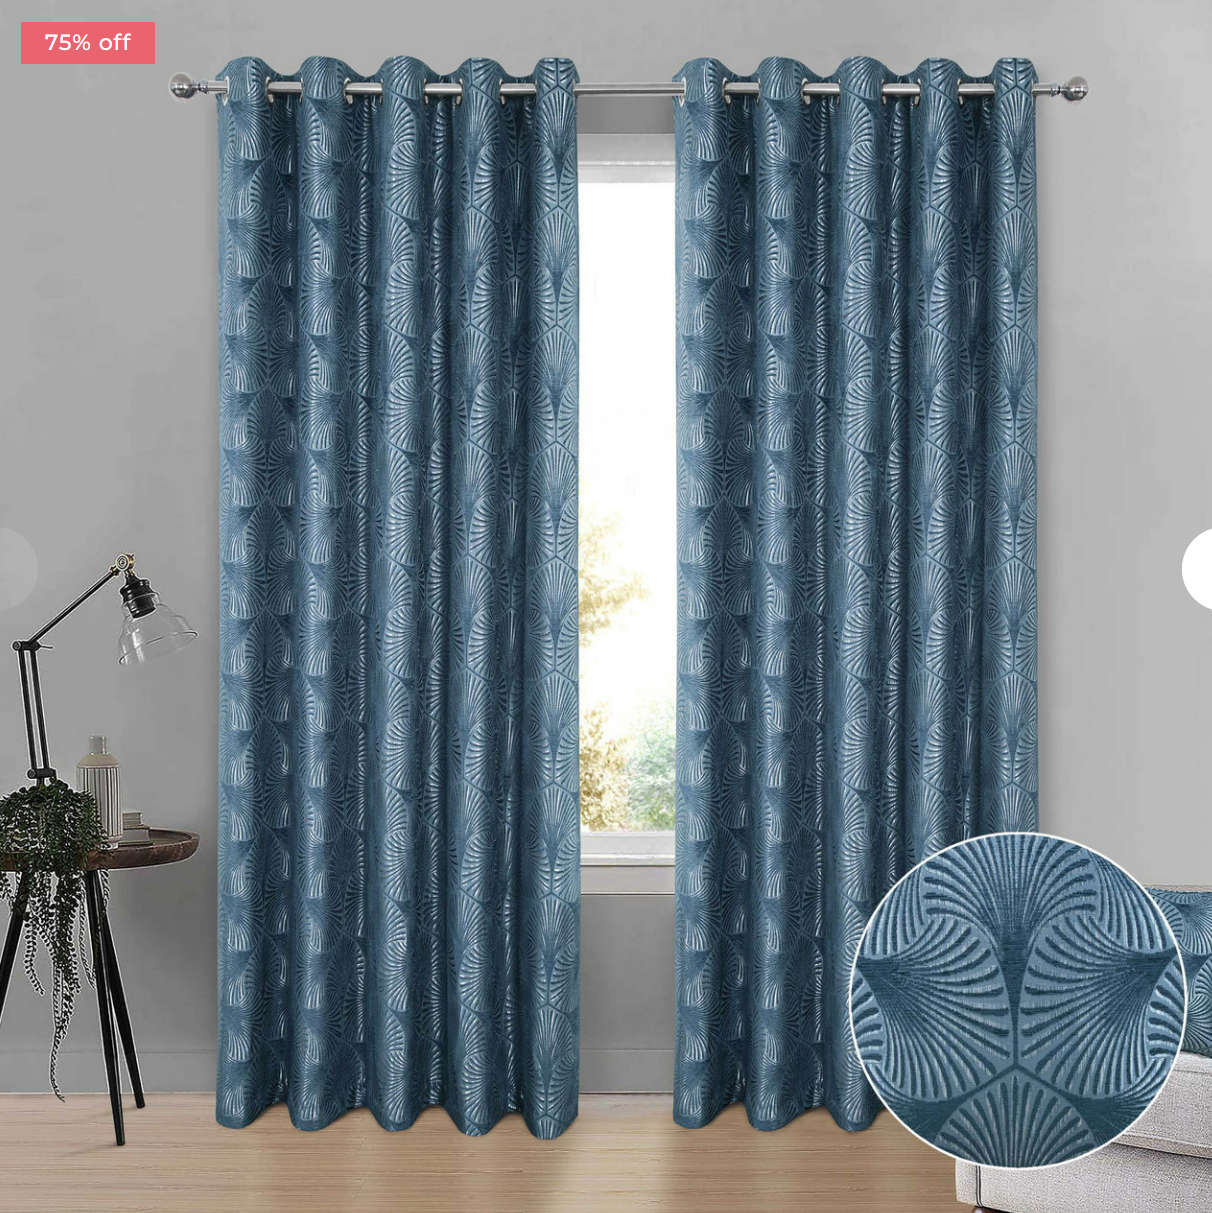
We have a range of eyelet curtains designed with style and durability in mind. Made from high-quality materials in various colours and patterns, there is something to suit everyone.
Step 2: Make sure you’ve got the right pole
When selecting a curtain pole, consider the weight of your curtains. Lightweight fabrics like voile can be hung on tension rods. Heavier materials require sturdier poles, such as those made from wood or metal.
The size of the eyelets is crucial; ensure the pole's diameter matches the eyelet holes. Also, consider how you want the curtains to function. Tension rods are ideal for curtains that primarily provide light diffusion and privacy. Choose poles extending beyond the window recess for more functional or statement pieces.
Step 3: Measuring for Eyelet Curtains
Measure your curtain pole to be about 30% wider than your window. This allows the eyelet curtains to open fully, letting in maximum light. The combined width of your curtain panels should be 50% wider than the curtain pole to ensure the fabric hangs correctly without gaps when closed.
Step 4: Marking the Brackets
Ensure your brackets are level with each other using a spirit level. Mark the bracket positions with a pencil. Place the brackets a few inches above the window to create an illusion of taller windows and to enhance the appearance of the curtains.
Step 5: Drilling the Holes
Carefully drill the marked holes, avoiding any wires. This step is crucial for safety and to prevent electrical damage.
Ask someone to hold a vacuum under where you’re drilling to catch any mess and make the process easier.
Step 6: Anchoring the Walls
Install wall anchors or raw plugs into the drilled holes, especially if your pole is heavy-duty. This will provide extra support for the screws and ensure the pole's stability.
Step 7: Attaching the Brackets
Screw the brackets into place. If your measurements and markings were accurate, the brackets should be parallel and capable of supporting the curtain pole and curtains.
Step 8: Threading and Hanging the Curtains
Remove the finials (the pole's end pieces) and thread the curtains’ eyelets onto the pole. It might be easier to fold the curtains before threading the pole through the eyelets.
Step 9: Final Touches - Tying Up Your Eyelet Curtains
Although tiebacks are not typically necessary for eyelet curtains, they can add a decorative touch. Suppose you choose tiebacks, select ones that match the curtain material or opt for complementary decorative styles.
Install tiebacks about a third up from the bottom of the sill, ensuring both are at the same height for a balanced look.
By following these steps, you can confidently hang your eyelet curtains, enhancing the overall look of your windows. Whether aiming for practicality or a decorative statement, the right curtains and proper installation can make a significant difference.
For more information, contact a friendly member of our team at 01623 445480, 9am—4pm Monday through Friday.
Discover our stunning range of luxurious & stylish Eyelet Curtains
Why not check out our other expert written blogs for more fantastic tips & advice


